CLICK • CLACK • CUSTOM
A custom mechanical keyboard is a tool you design for yourself. You pick the layout, switches, keycaps, and case so it looks and feels exactly the way you want.
This page walks you through the basic steps. Scroll down to learn how to plan your build, choose parts, assemble the board, and finally type on something you created.
Step 1 – Plan Your Layout
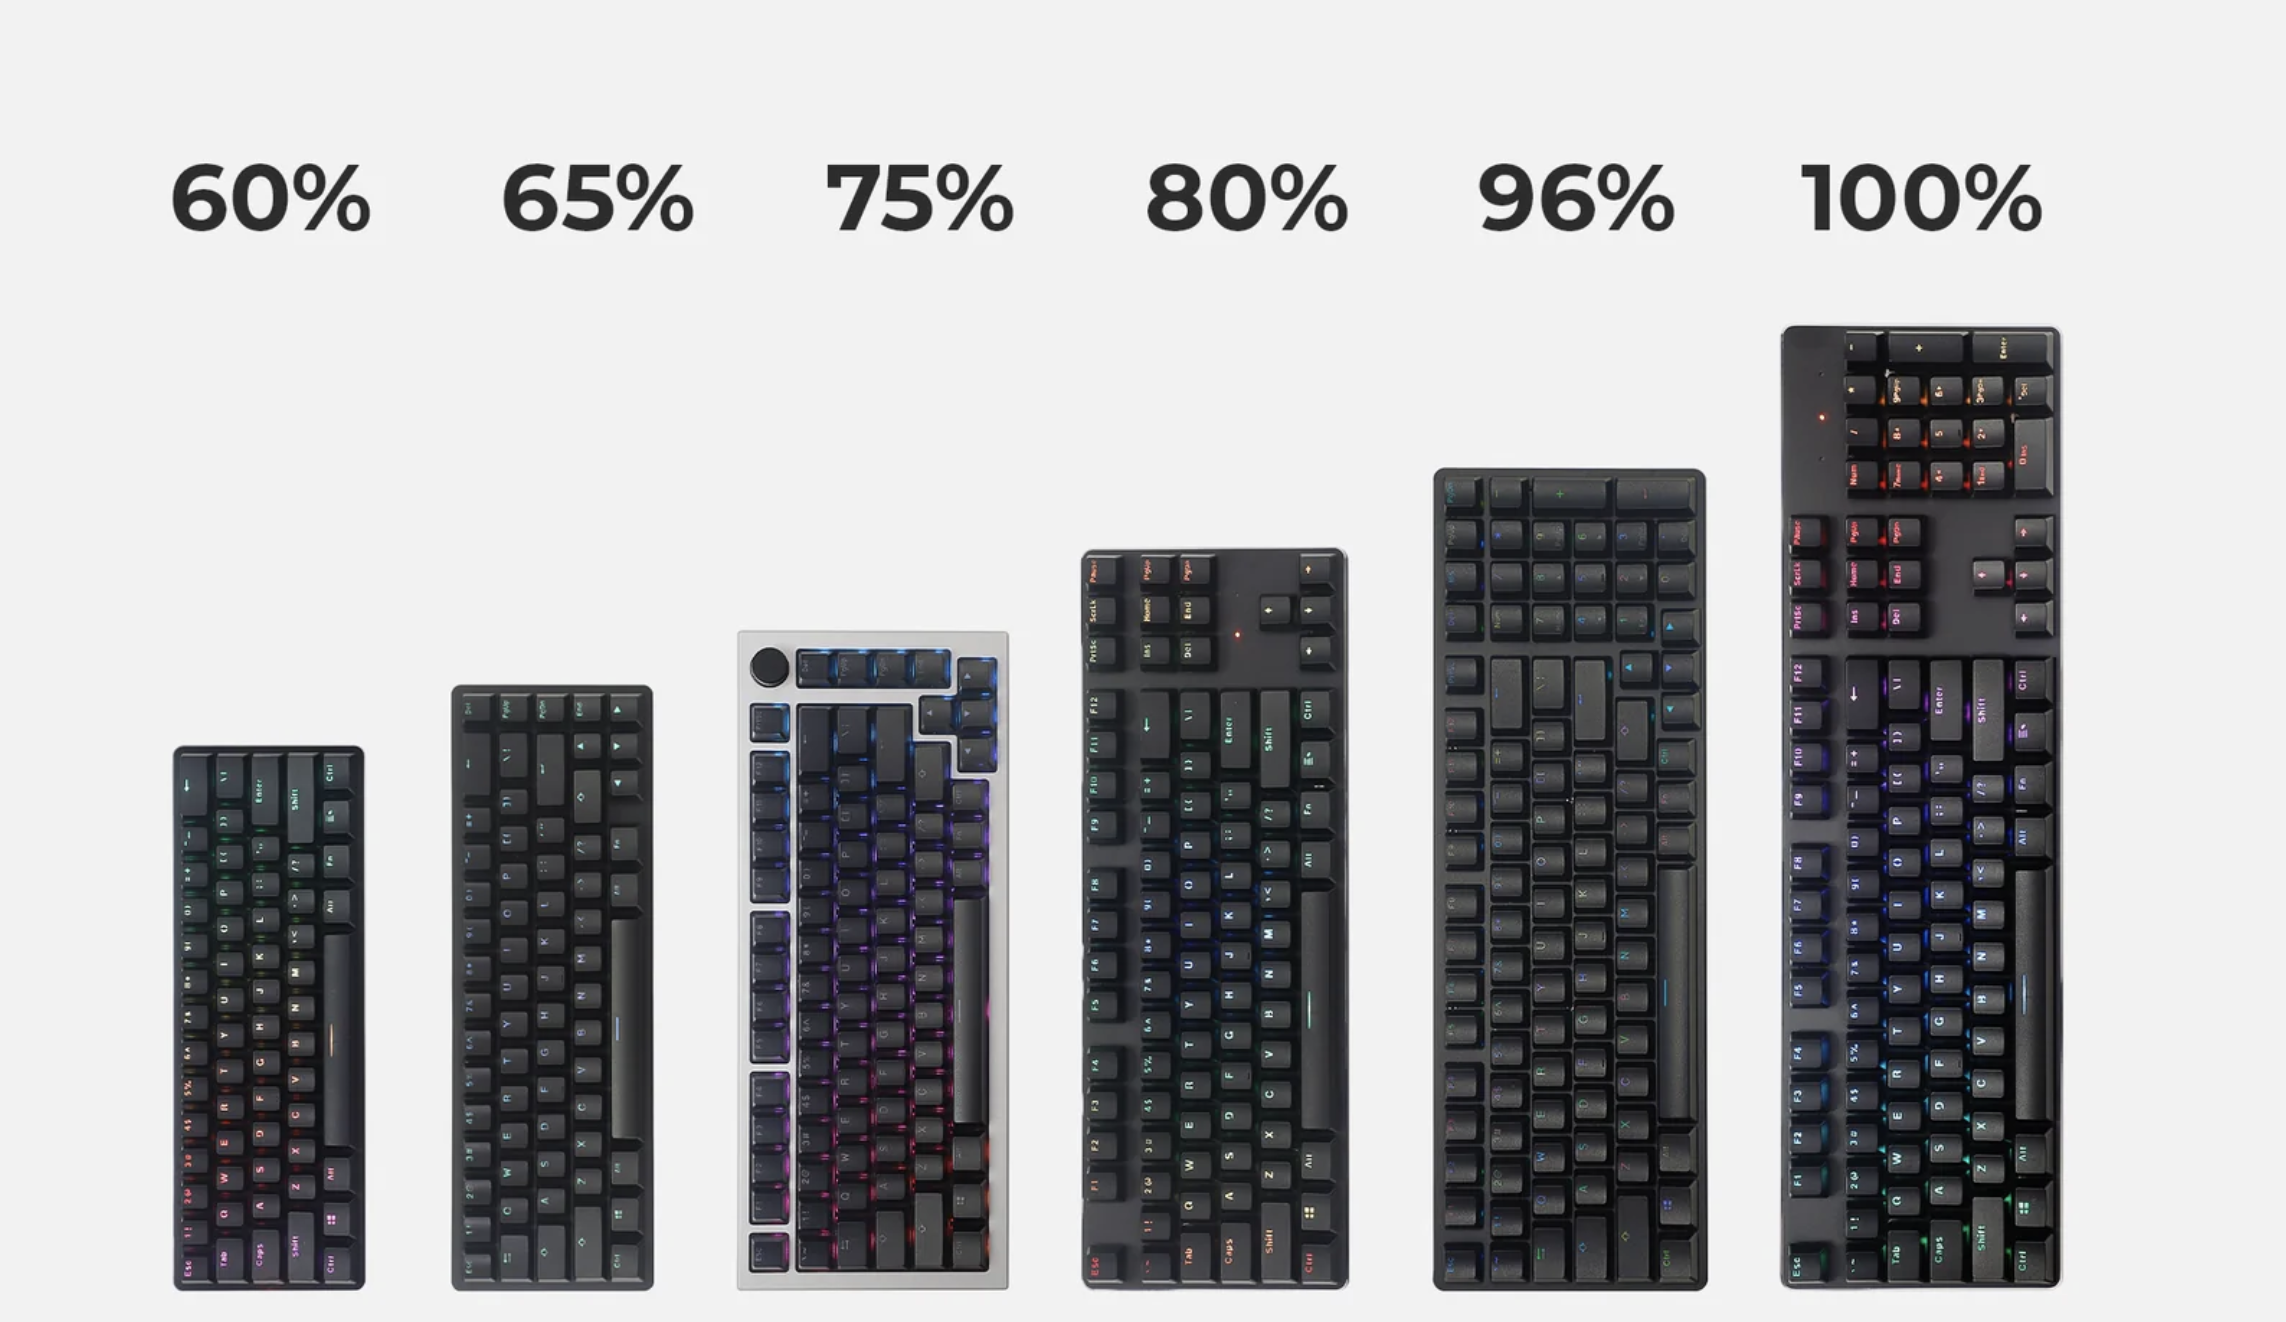
Pick a Size
Decide whether you want a full-size board, a TKL (tenkeyless), or a compact layout like 65% or 60%. Smaller boards save desk space, while larger ones keep dedicated keys.
Think About Use
Do you mostly game, type, or code? If you rely on arrow keys and function keys, make sure your chosen layout keeps them accessible.
Step 2 – Choose Components
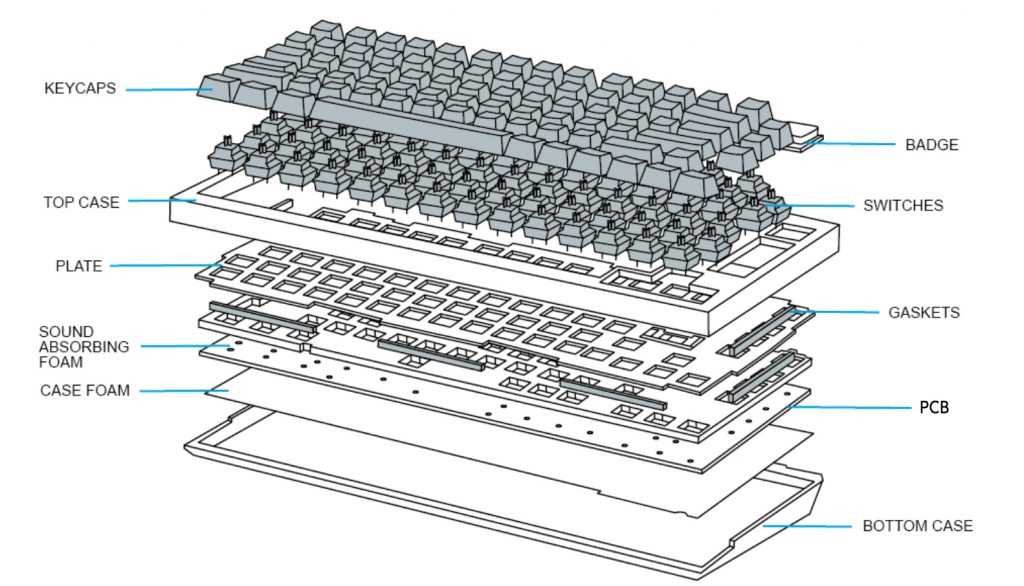
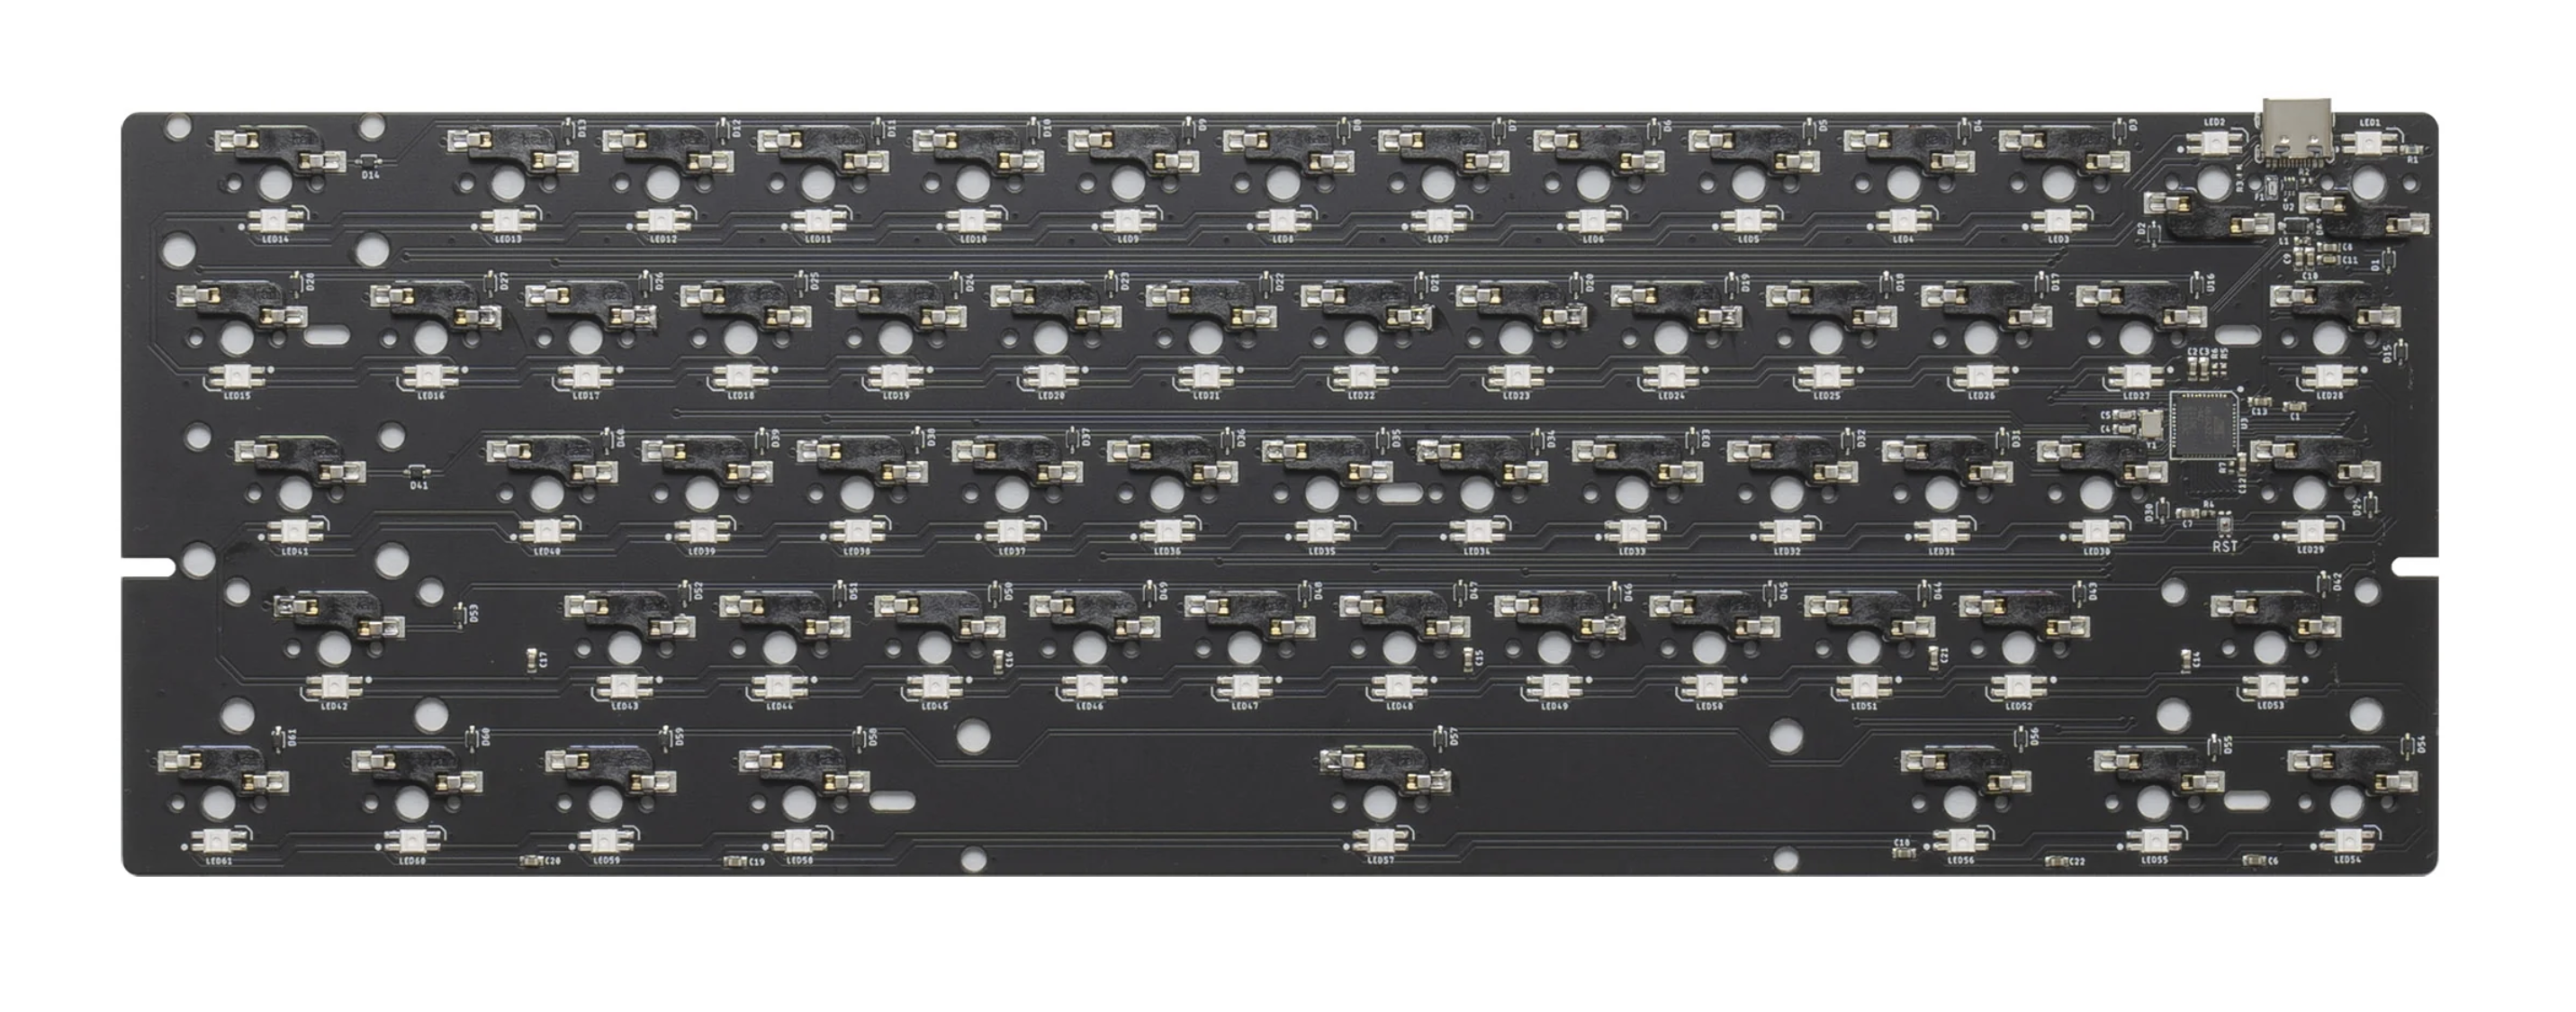
Case, Plate, and PCB
The case defines the overall look and sound. The plate affects stiffness and feel. The PCB is the circuit board that actually reads each keypress.
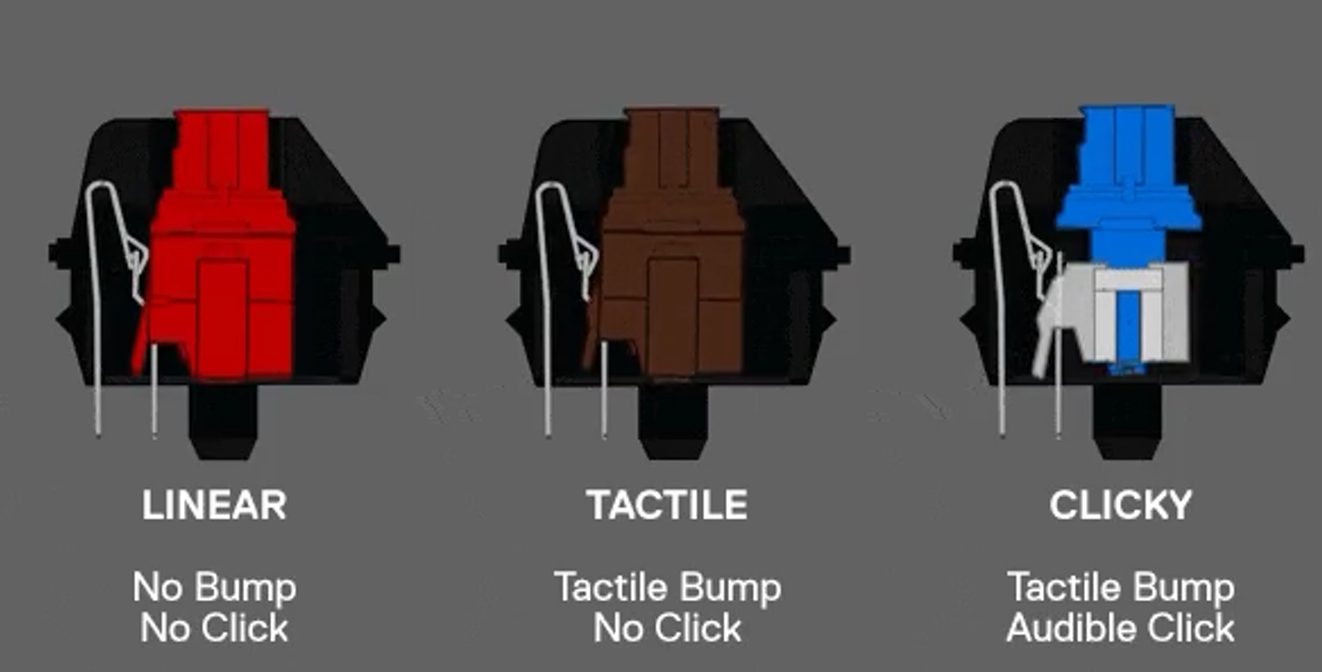
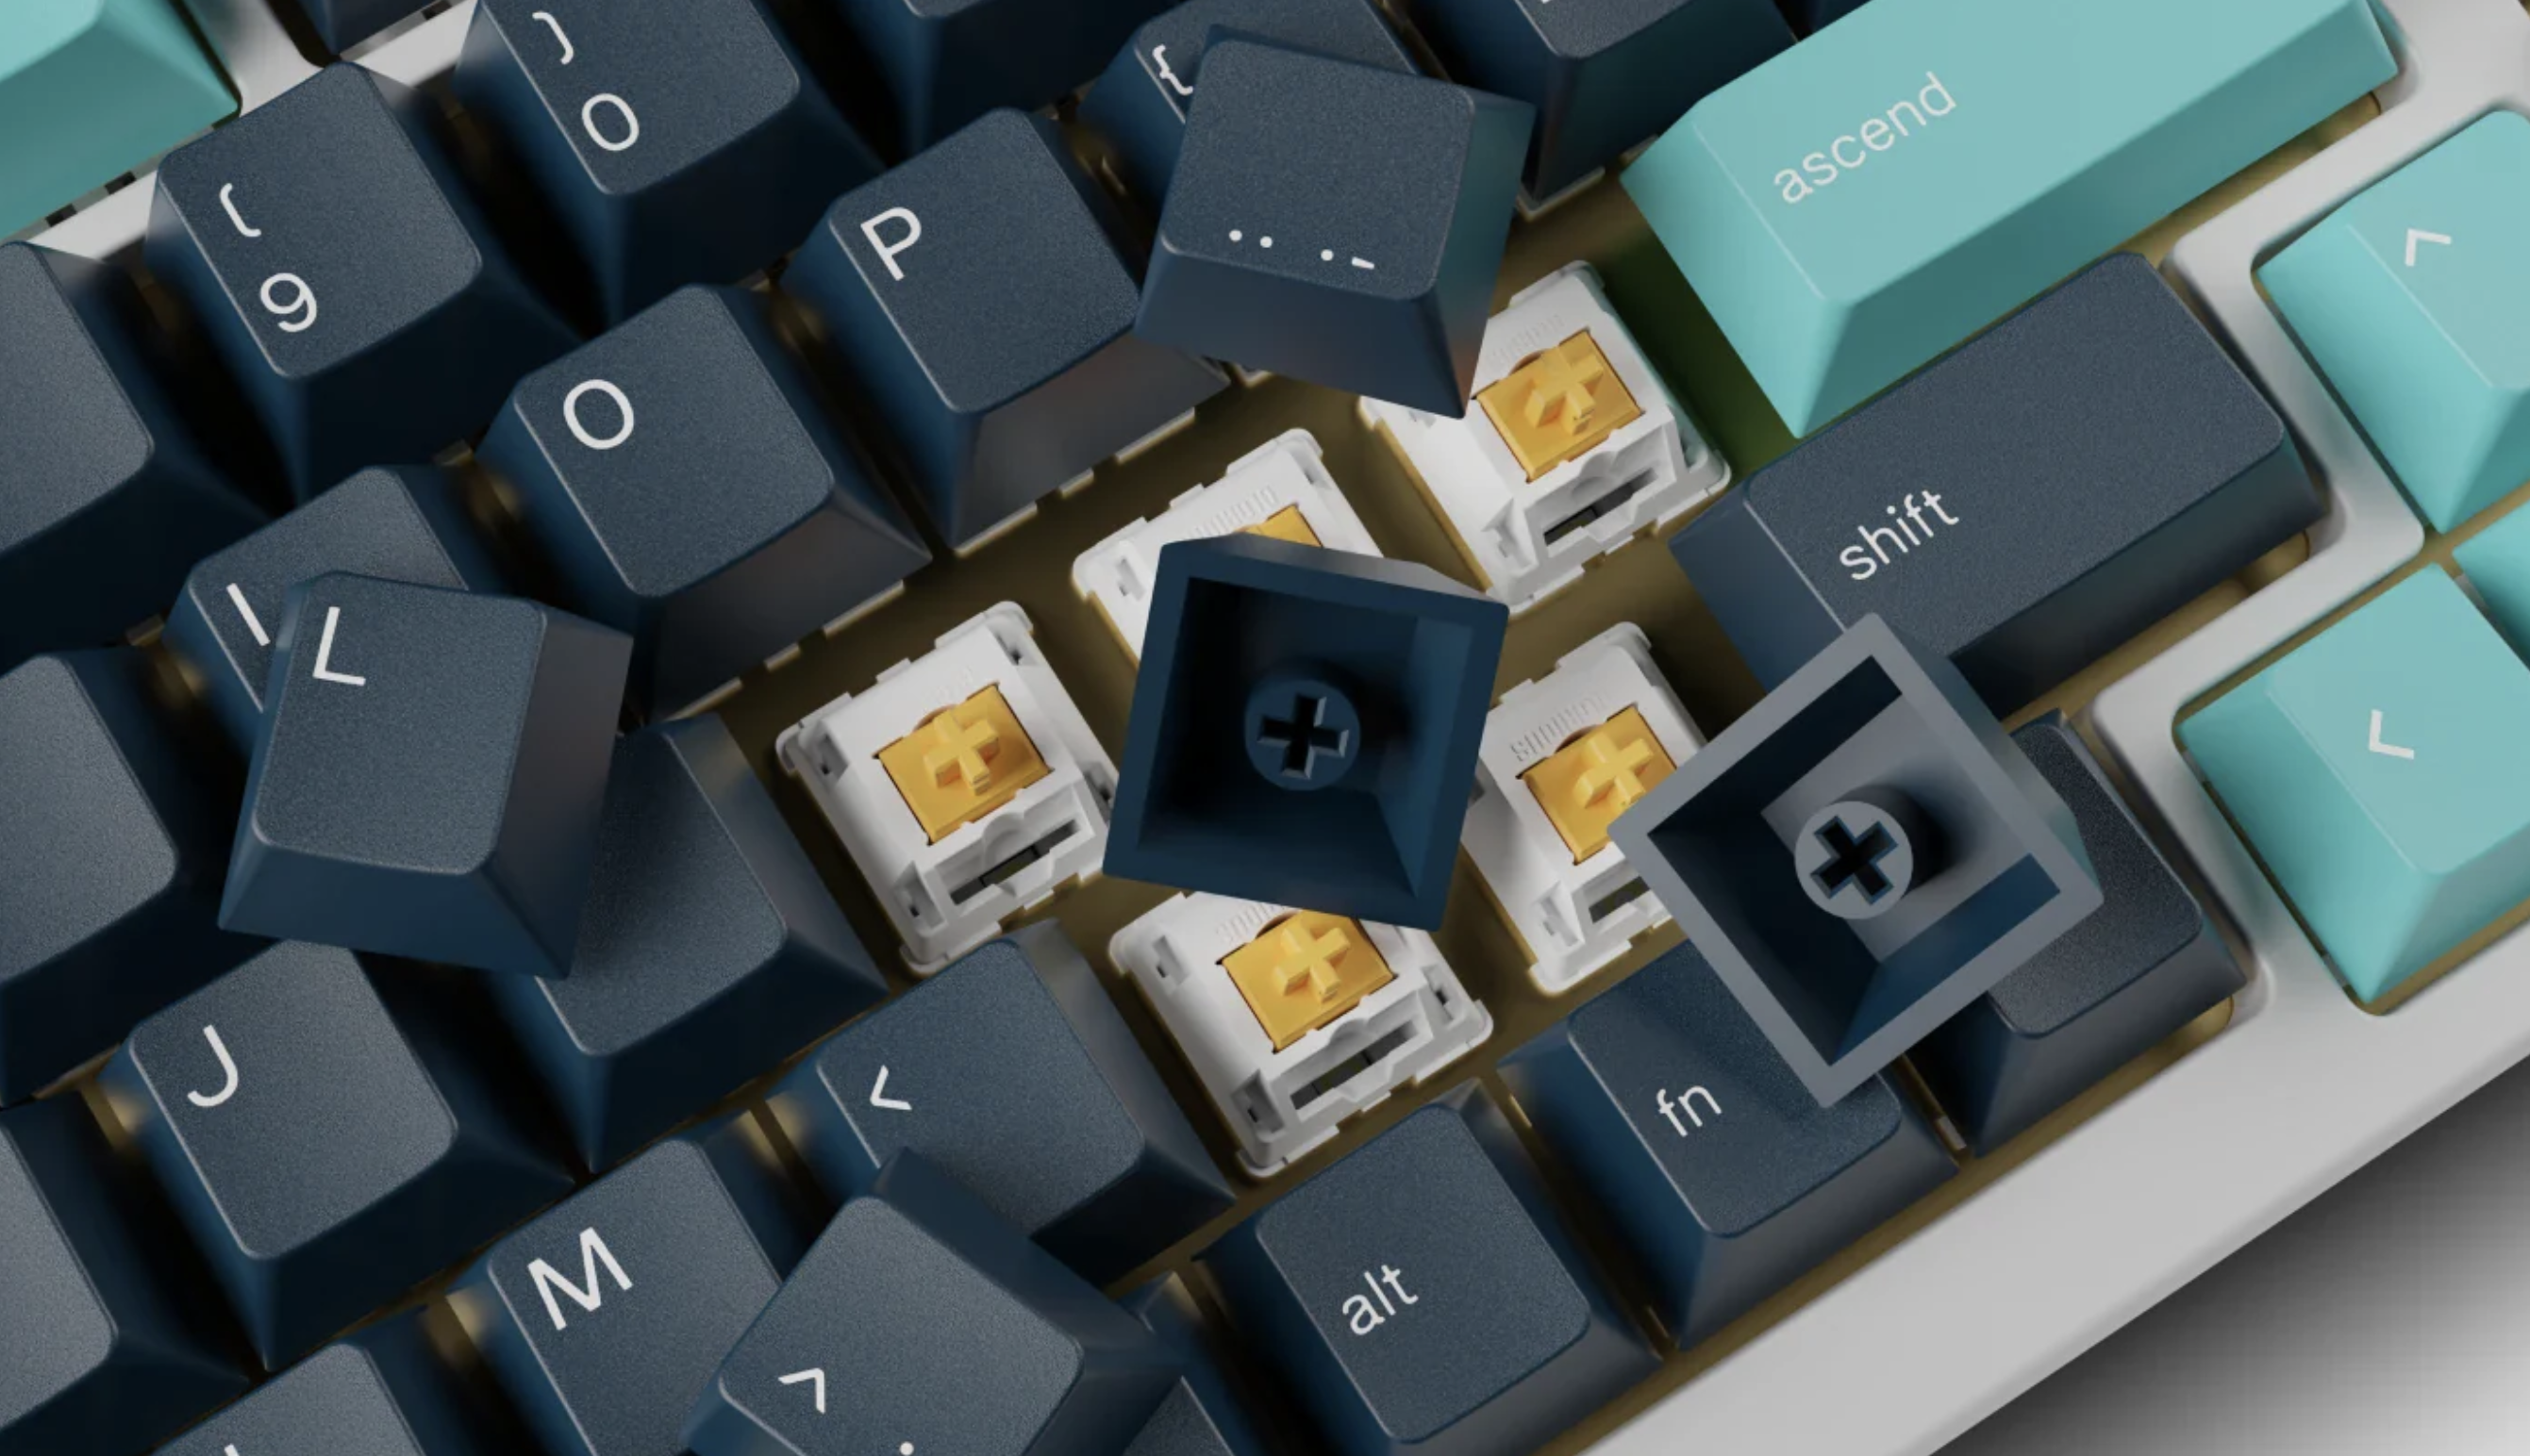
Switches
Switches come in three main types: linear (smooth), tactile (with a bump), and clicky (bump + click). Try a few before you commit to a full set.
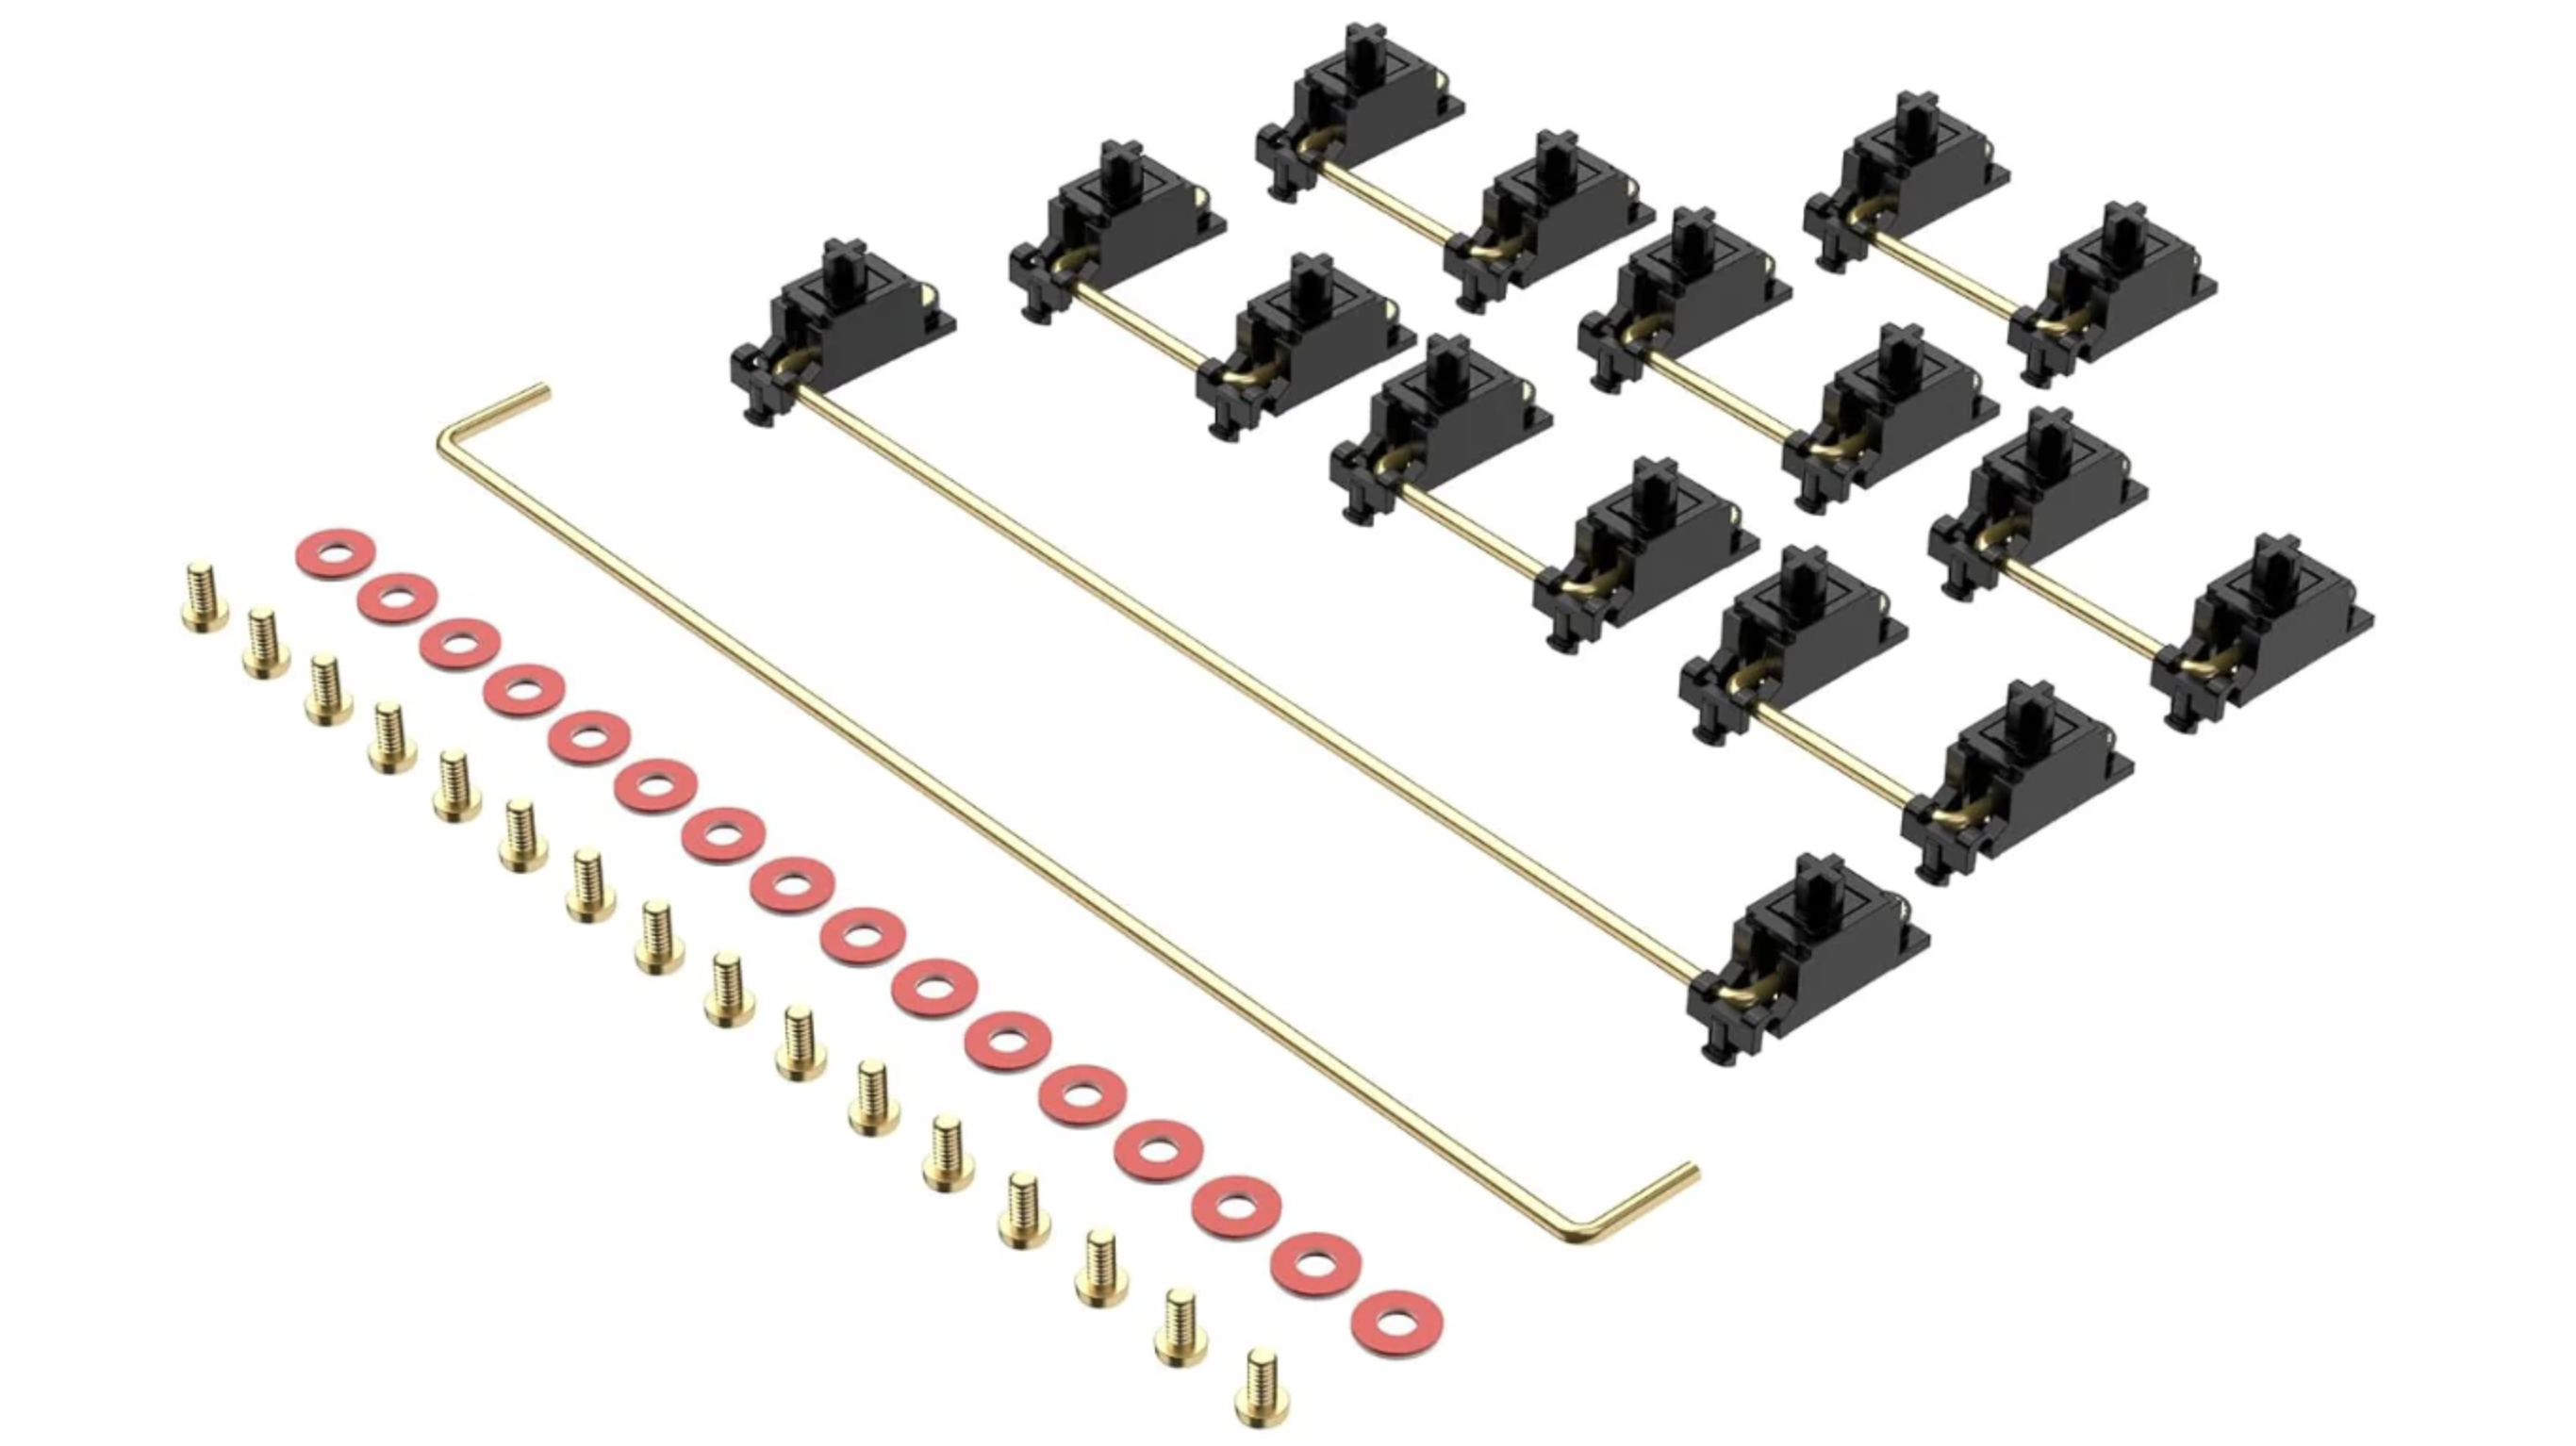
Keycaps & Stabilizers
Keycaps finish the aesthetics. Stabilizers keep large keys like Space and Enter from wobbling. Good stabilizers make the board feel solid and premium.
Step 3 – Assemble the Board

Set Up Your Workspace
Clear a stable surface and gather tools: screwdriver, switch puller, keycap puller, and a soldering iron if needed. A clean workspace makes the build easier.
Install Stabilizers
Mount stabilizers on the PCB where you’ll place larger keys. Many builders lubricate stabilizers to reduce rattle and improve sound.
Dry Fit Switches
Place switches into the plate and align their pins with the PCB. Make sure everything sits flat and no pins are bent before moving on.
Step 4 – Solder and Test
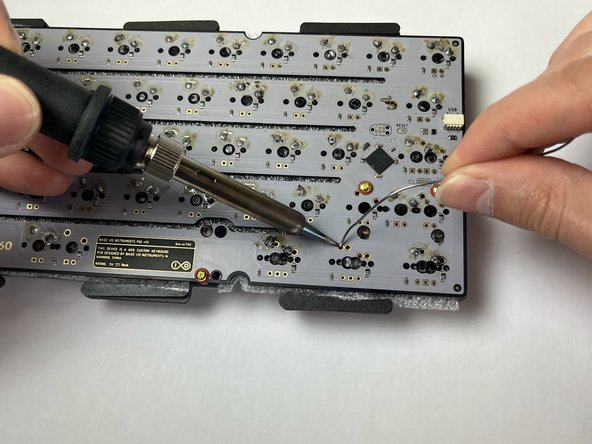
Solder the Switches (if required)
Heat the pad and the switch pin together, then apply a small amount of solder to create a shiny joint. Work slowly and check your work as you go.
Hot-Swap Boards
If your PCB is hot-swap, simply press switches into the sockets until they click in. No solder required—great for first-time builders.
Test Every Key
Plug the keyboard into your computer and use an online tester to check that each key registers. Fix any dead keys now before closing the case.
Step 5 – Tune and Enjoy
Install Keycaps
Push your keycaps onto the switches, making sure each one is seated straight. This is where the visual personality of your board really appears.
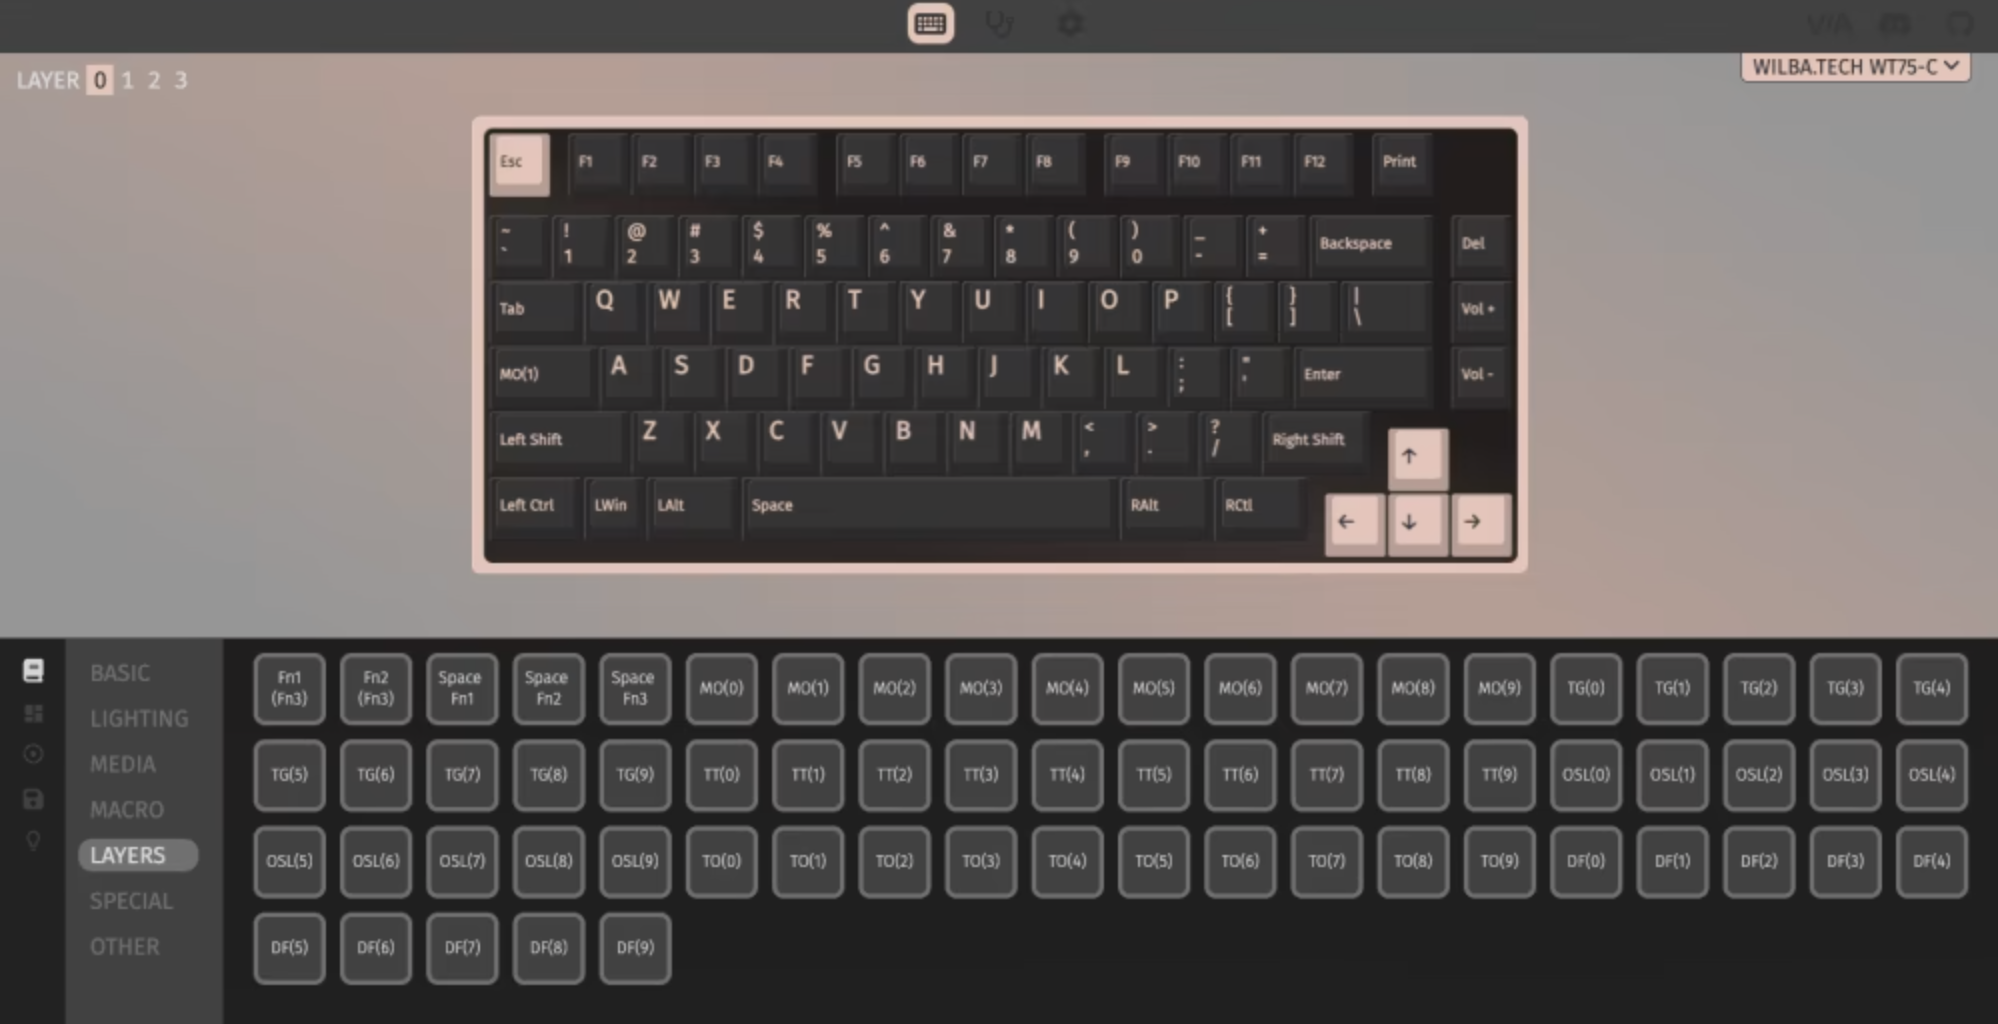
Customize Firmware
With firmware like QMK or VIA, you can remap keys, create layers, and add macros for common shortcuts. One keyboard can handle many roles.
Use It Every Day
Type on your new build for a few days and notice what you like or want to change. Your first keyboard is just the start—there’s always a next build.